
How to Make the Crispiest Chicken Cutlets
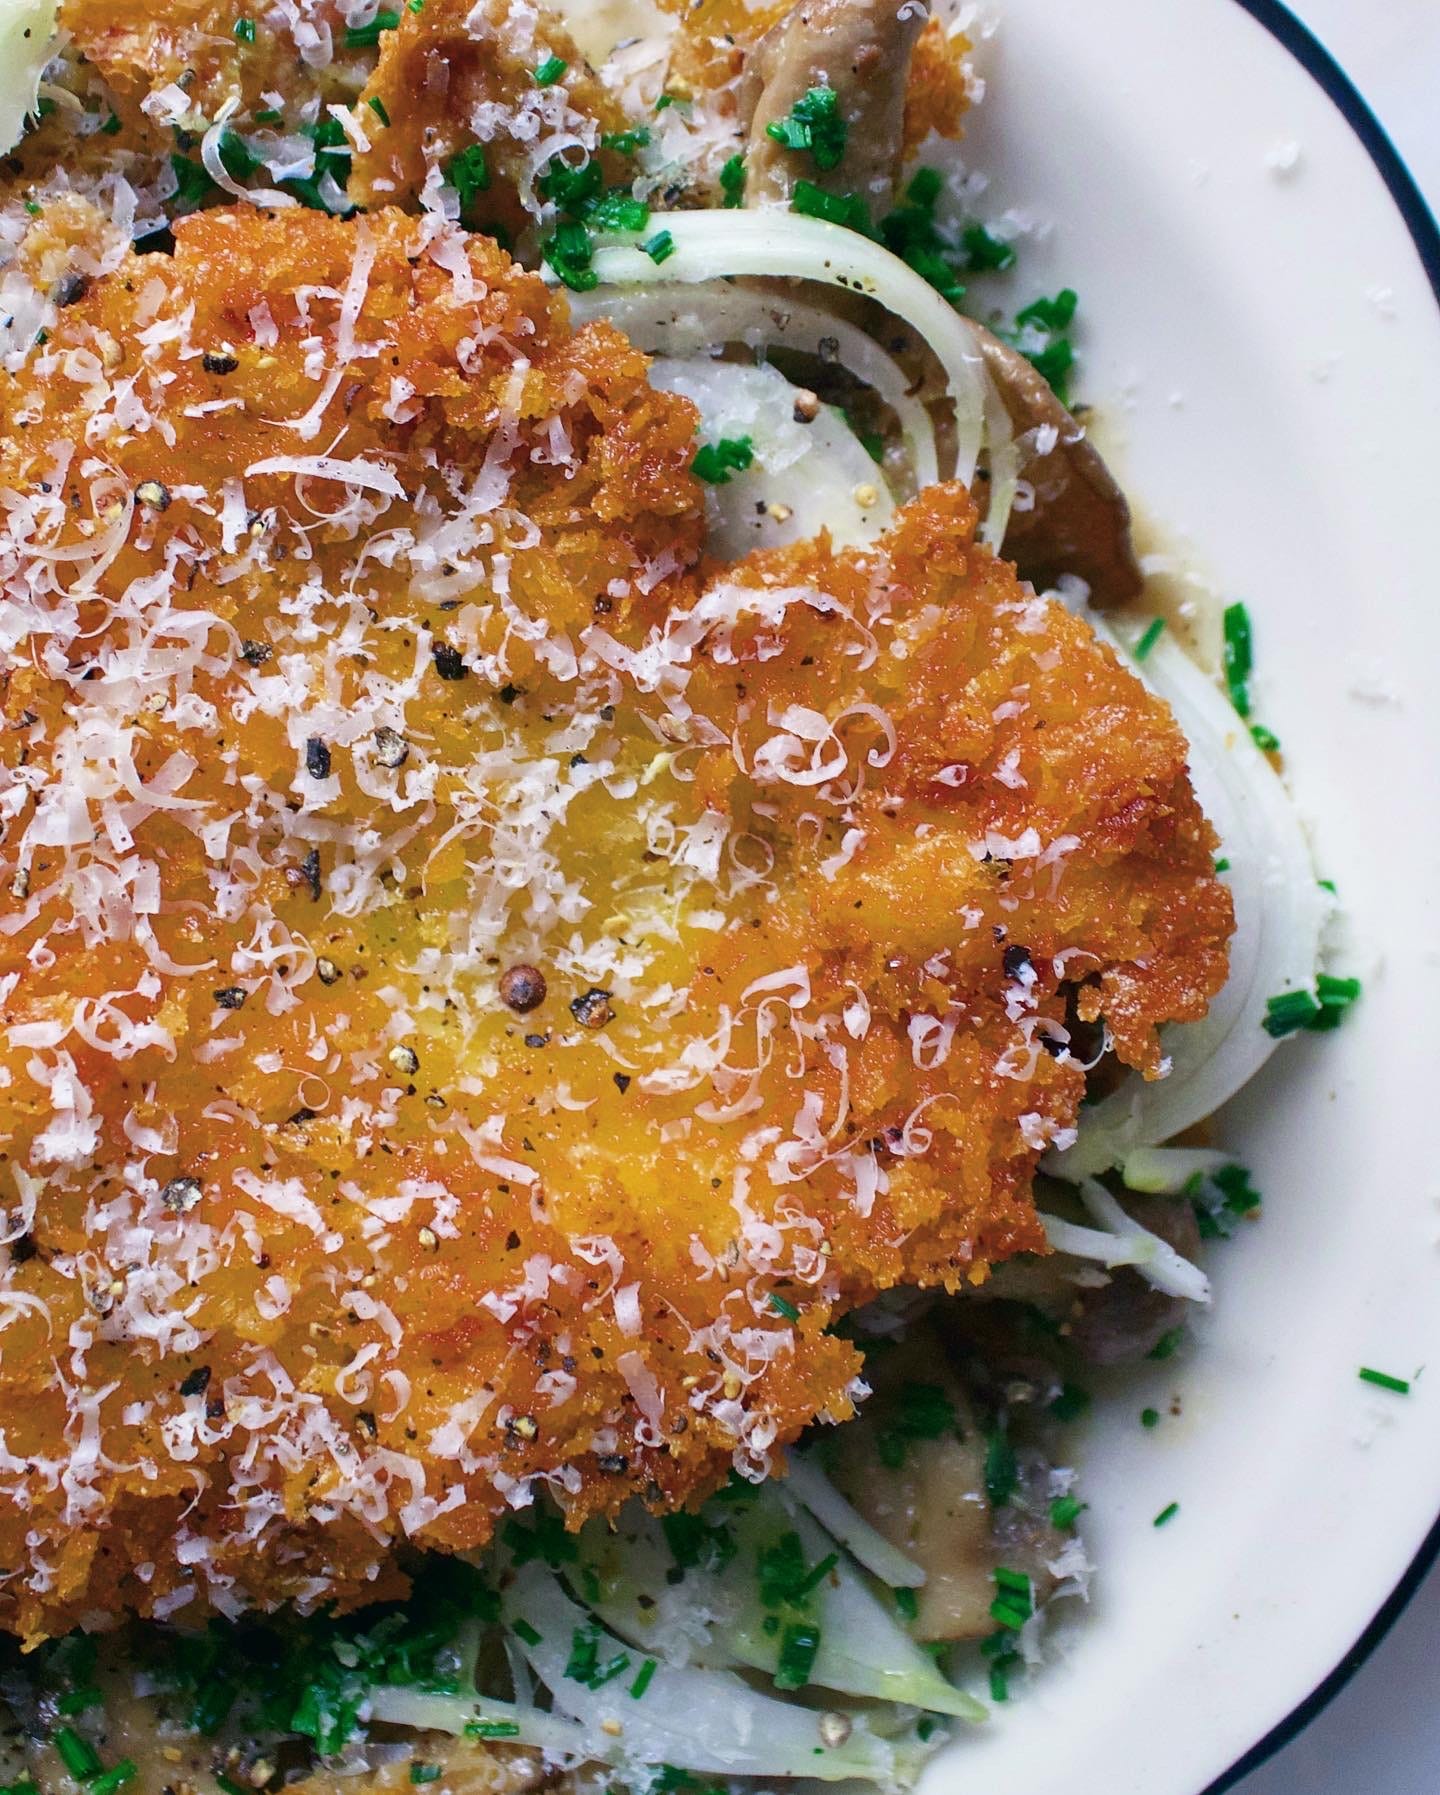
"Shatteringly" crisp is the goal
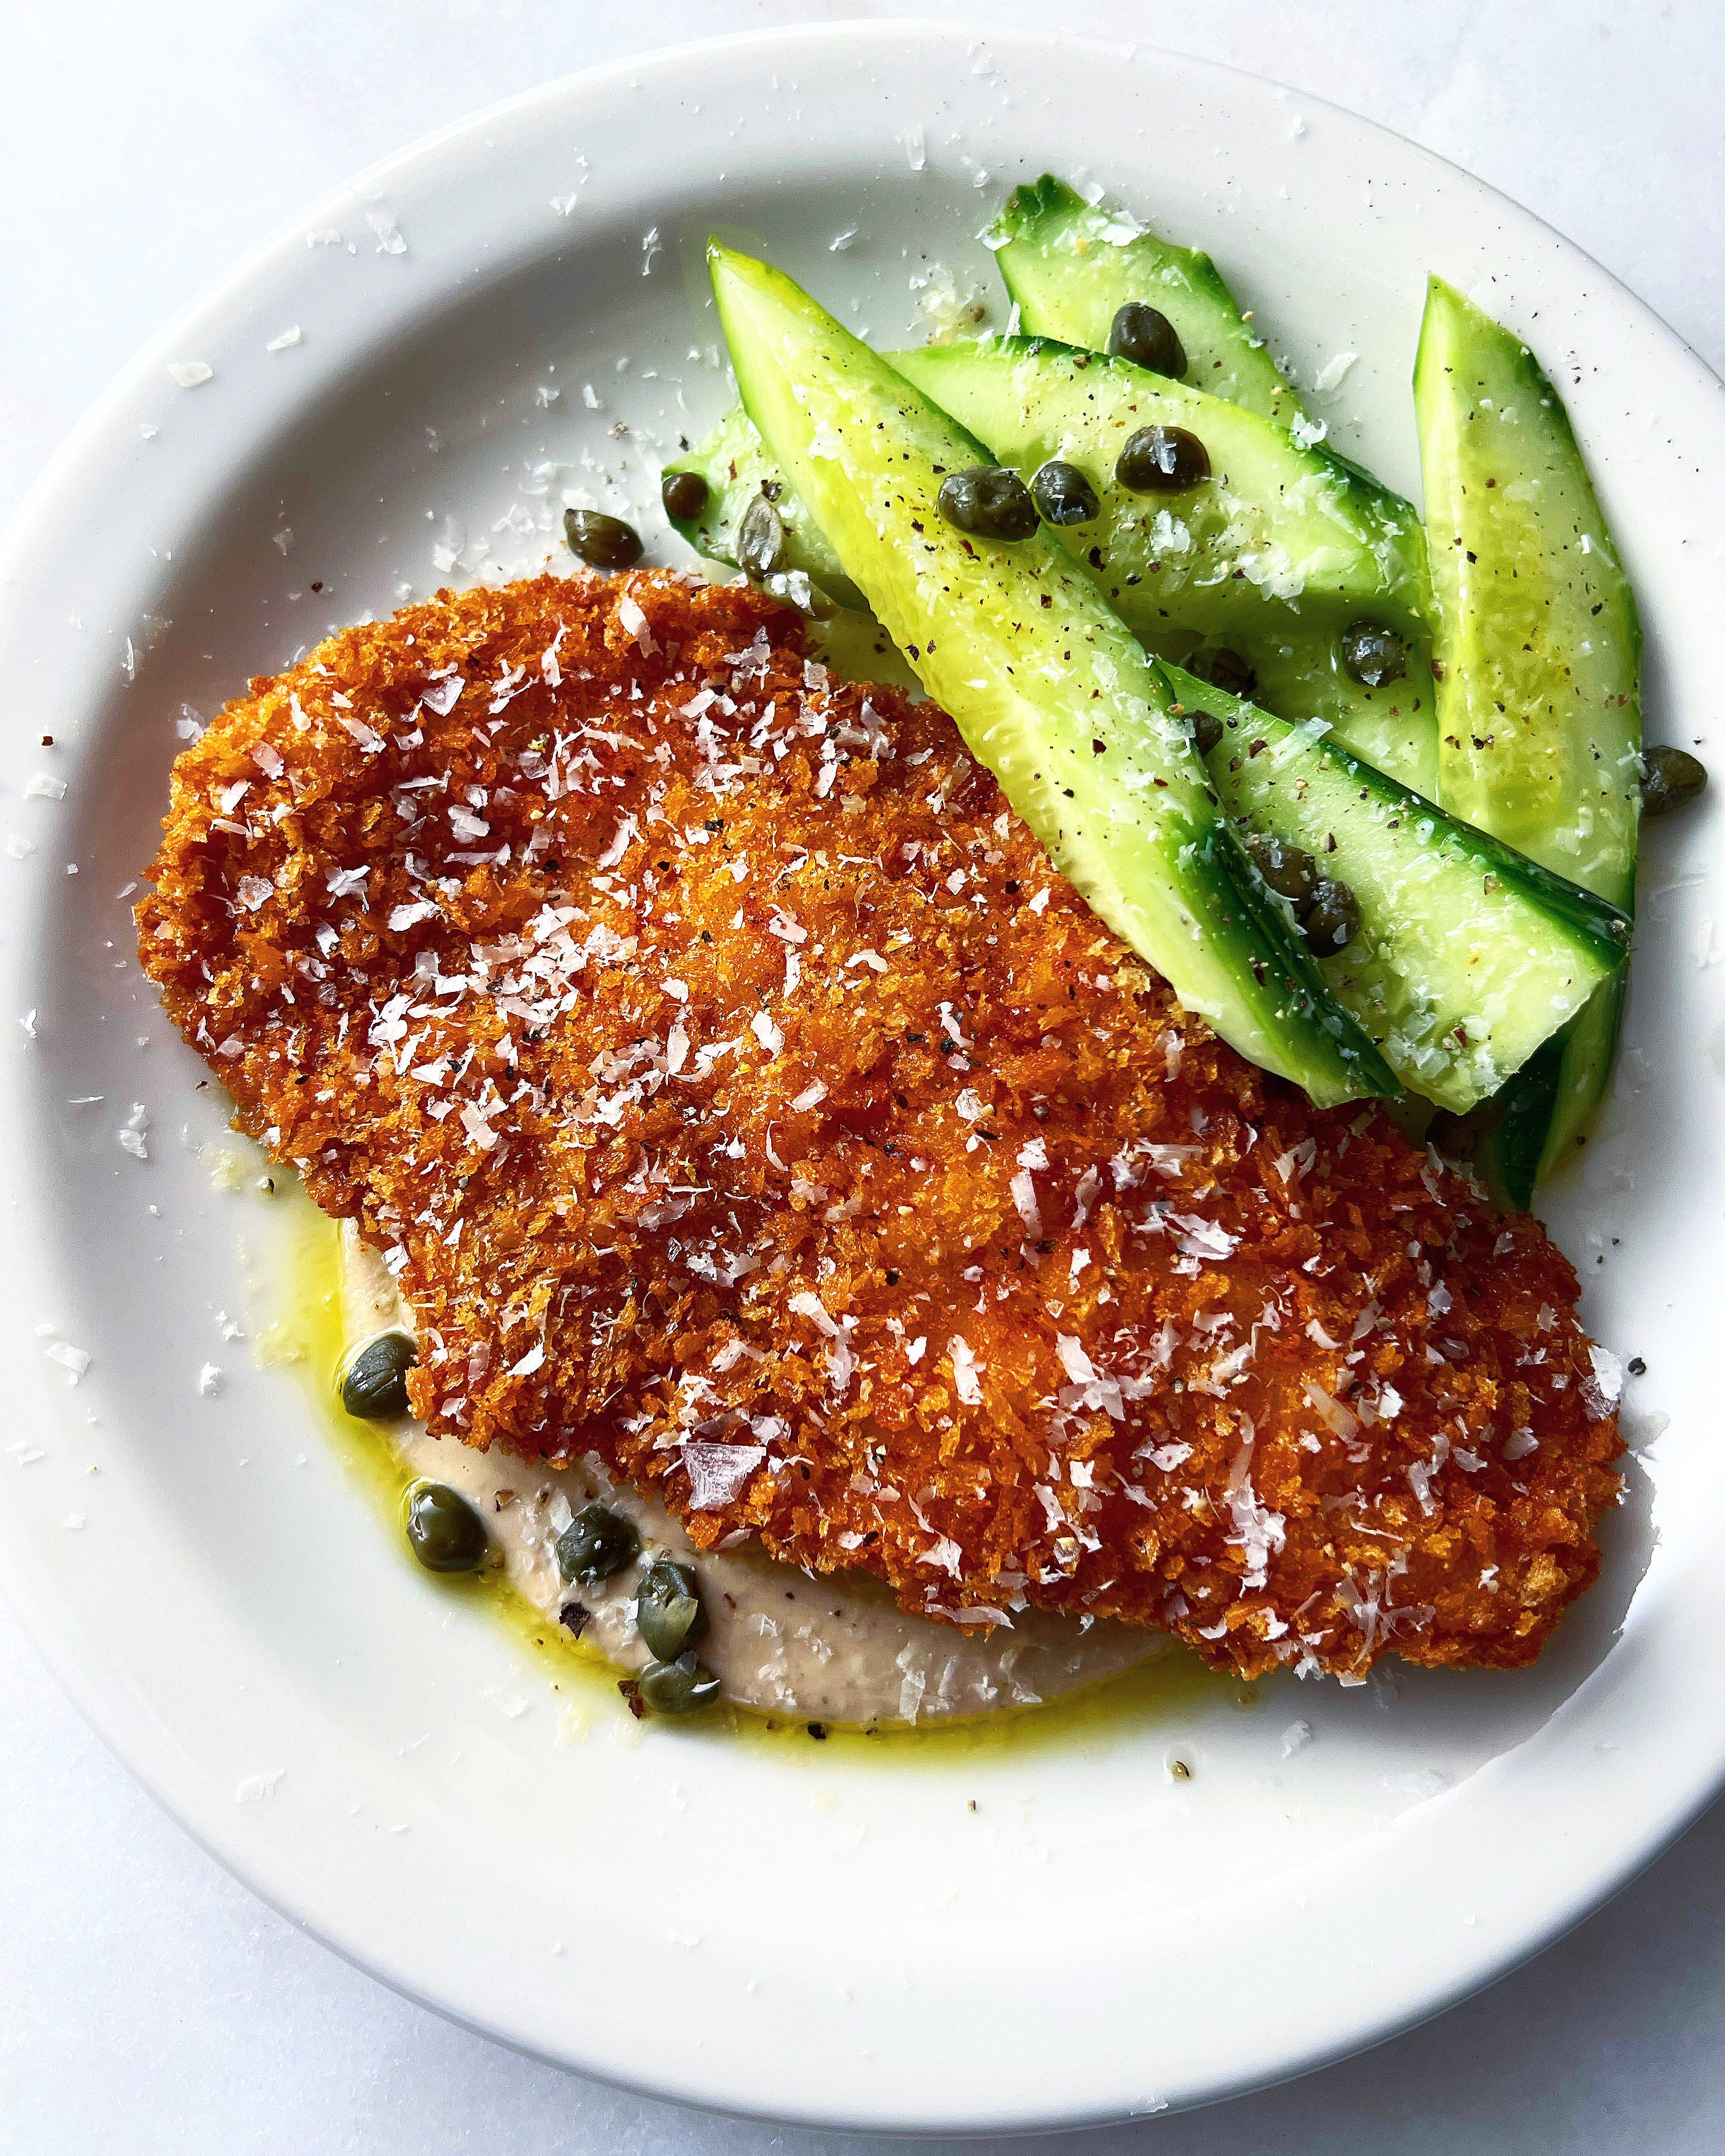
Chicken cutlets are one of life’s great pleasures. There are few items with as much bang for your buck as a golden-brown cutlet, either swaddled in a hero sandwich, sliced and layered on some greens in a buttermilk dressing, or simply dunked into some Heinz. Doesn’t matter if it’s of the katsu, Milanese, or bodega variety — cutlets are a crowd pleaser.
However, not all chickens are created equal, and it’s unfortunately somewhat rare to find cutlet perfection. The most common pitfalls are external and internal: a breading that never gets sufficiently crispy and goes rapidly limp upon cooling, and a dry interior that reduces the cutlet to mere chicken leather.
While a good katsu shop or fancy northern Italian restaurant should be able to provide sterling examples, it can be hard to avoid those two obstacles at home. Thankfully, I’ve done the unenviable work of tasting many chicken cutlets for you, and I have five takeaways for maximum crispiness:
Use panko and choose it wisely. Panko breadcrumbs will unquestionably yield the crispiest cutlet, as proven by the second-to-none crispiness of chicken katsu. Although I love to make my own breadcrumbs, I always stick with store-bought for this, and I never use any other type of breadcrumb. I would also only go for imported Japanese panko breadcrumbs; my preferred brand is JFC (also displayed as J-Basket), as these have had the most even cooking for me. In general, you should be looking for large-sized panko grains that are clearly crispy.
Use semolina flour and season it well. This tip is by way of Italy; semolina flour is much more grainy than AP flour and will be more effective in developing crispiness once it hits the oil. Additionally, you should liberally salt the flour, and you can add any number of spices; I like to include smoked paprika, garlic powder, onion powder, and a bit of cumin. I also add coarsely cracked black pepper to the panko (not the flour).
Press the coating onto the cutlet. Once you’ve coated the chicken in flour and dipped it in some beaten eggs, roll it into the panko and be sure to firmly and repeatedly press the breadcrumbs into the cutlet. You want to stick as much panko as possible onto the chicken, and it shouldn’t fall off. This step is crucial when frying anything, with any kind of coating, to ensure even cooking.
Use hot oil. Any kind of high smoke point oil is fine — I usually use vegetable oil for these; grapeseed and peanut work as well — but it needs to be very hot. You should get the oil to a minimum of 350 degrees F before dropping in the cutlets; it should be shimmering, and dropping a breadcrumb in the oil before cooking should create a ton of sizzling in the pan.
Once they’re done, place the cutlets onto a sheet pan with a wire rack. This will prevent them from going soggy by keeping the air circulating underneath — don’t just put them on a plate or on top of paper towels!
Those are the five tried-and-true steps for crispiness; below is the full recipe.
Crispy Chicken Cutlets
Ingredients
3-4 chicken cutlets; if you’re buying pre-butchered cutlets from the store, you shouldn’t need to thin them out with a mallet
1 cup semolina flour
2 cups panko breadcrumbs, or as much as you need to fully cover each cutlet
2 eggs, beaten
High smoke-point oil such as vegetable, canola, grapeseed, or peanut
A small dash of your preferred spices: paprika, garlic powder, onion powder, cumin, etc.
Kosher salt
Coarsely cracked black pepper
Instructions
Arrange two plates and a bowl in the following order: plate, bowl, plate. Fill the first plate with your semolina flour; add salt and any additional spices and mix evenly. Add two eggs to the bowl and beat them well. Add the panko breadcrumbs to the second plate and add some black pepper.
Prepare the oil; use a cast-iron or carbon steel pan. Add about two inches of oil, or enough to leave about 3/4ths of an inch of space between the oil and the top edge of the pan.
Coat the cutlets one by one; first, dredge through the flour, evenly covering the chicken with a thin layer and shaking off any excess. Then, submerge the cutlet in the egg; this should also be a thin and all-encompassing layer. Finally, place the chicken in the panko; cover each side with a sufficient amount of breadcrumbs and firmly press them into the chicken so that it is totally encrusted.
Once the oil is sufficiently hot (approx. 350 degrees Fahrenheit), place the cutlets carefully into the oil. They should be directed away from your body and toward the back of the stove to prevent any oil splashing onto you. Do this slowly and carefully to avoid any oil making contact with the burner.
Each cutlet should fry on the first side for approximately 7-8 minutes, but I never really check the timing; you should mostly be looking for a golden brown color by checking the underside every so often with a pair of tongs. Once they reach a deep golden brown, they can be flipped.
Once the other side is sufficiently colored, remove the cutlets and place them onto a wire rack inside a sheet pan. Top them with flaky sea salt.